How to Create an Account
There are two ways to add an account: 1) add an account derived from the mnemonic registered in your wallet and 2) add an account by entering a Private Key.
The first way is to recover your account from the mnemonic you have registered with your wallet. The second option is to use other mnemonic-derived accounts if you are already using them and want to use them on the WELLDONE Wallet.
Create an account with Keystore
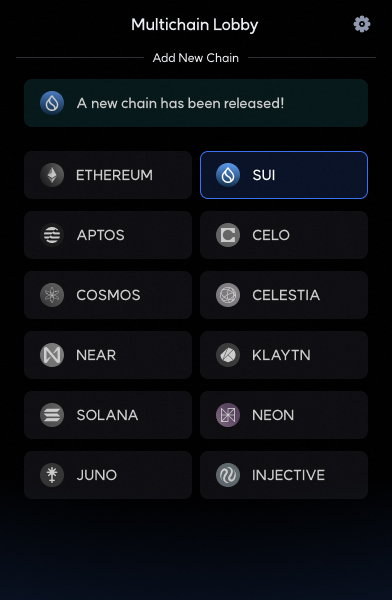
Step 1: Select a chain that you want to add
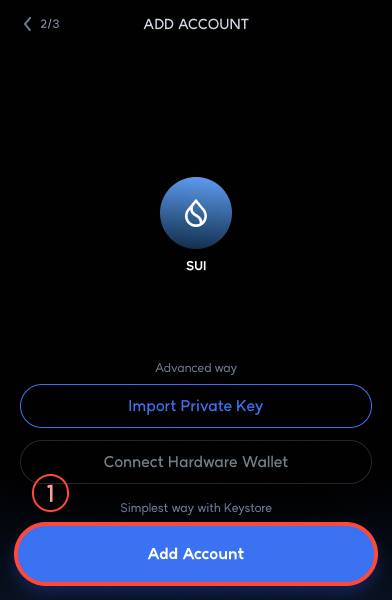
Step 2: Click Add Account with Keystore button.(You can typically choose it if you want to use an account derived from a registered mnemonic or if you don't have an account you've previously used.)
Step 3: Create an account name that is an alias to use in your wallet. Select HD Path by clicking the drop-down arrow.
The first option is the chain's primary standard. Choose the first option if you don't want to precisely customize it. Once HD Path has been selected, the address will be shown accordingly. Confirm the address and click the Add Account button.
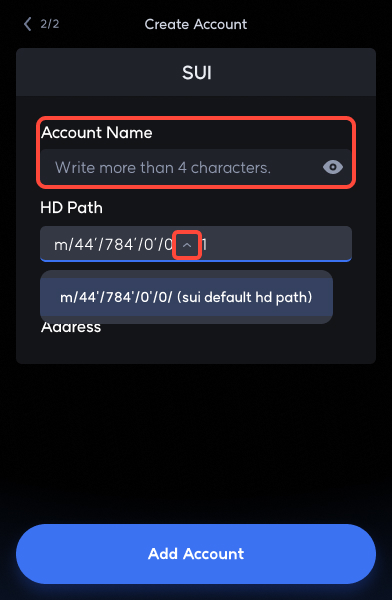
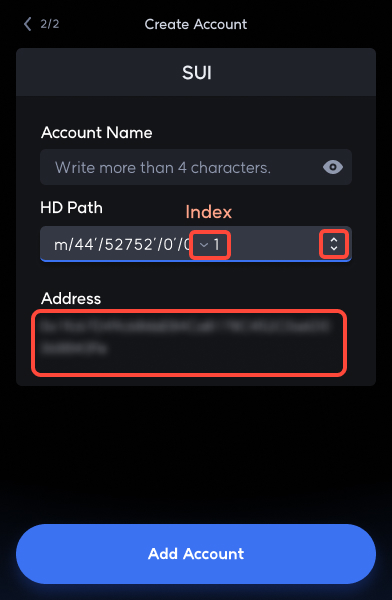
HD Path is a concept created to create multiple accounts from a single mnemonic. Different HD Paths produce different account addresses even with the same mnemonic. Different account addresses are created from the same mnemonic because various chains use different HD Paths as a standard.
But more than one HD Path could be used in a single chain. For example, in the case of Celo, there is a default HD Path of Celo, but there are users who use Celo with Metamask that uses Ethereum HD Path. As a result, WELLDONE Wallet allows users to choose their own HD Path within the chain to support these different cases. We also allow you to adjust the Index, the last item in HD Path.
Create an account with Private Key
Step 1: Select a chain that you want to add
Step 2: Click Import Private Key button (You can typically choose it if you use an account that you have already used.)

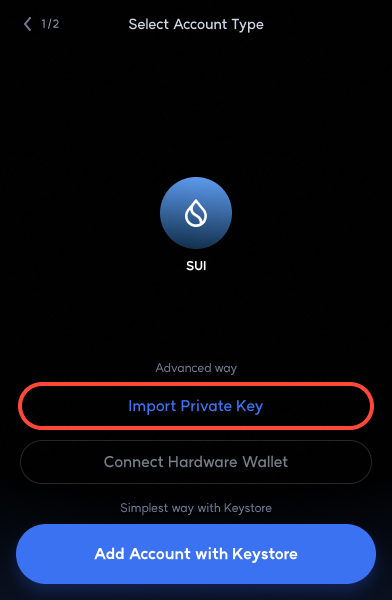
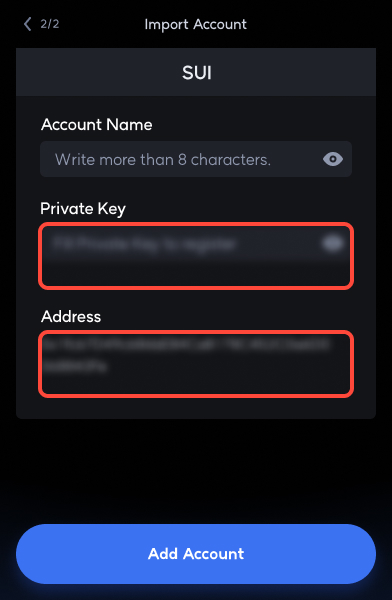
Step 3: Create an account name that is an alias to use in your wallet. Enter the Private Key, check the account address created, and click the Add Account button.
Create an account in NEAR
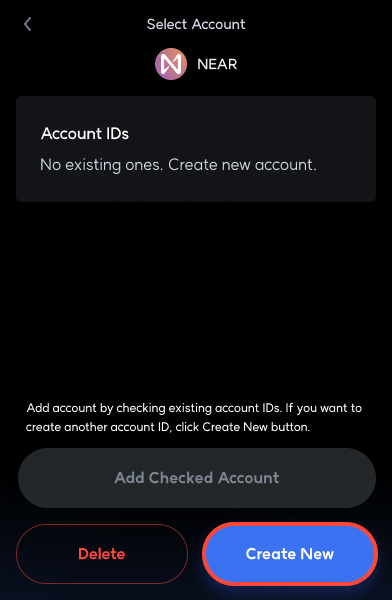
Most chains can create accounts using the above methods, but NEAR requires several additional steps when creating accounts using the Keystore.
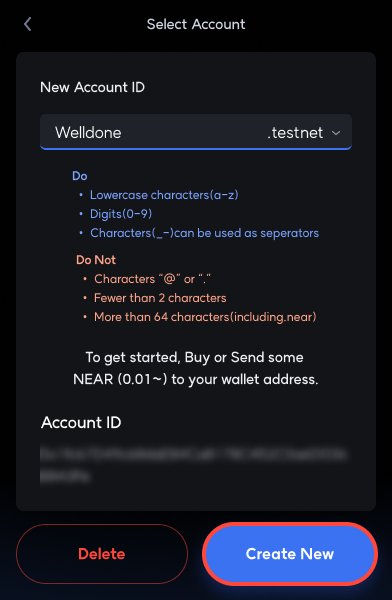
Step 1: Click the Create New button and input the AccountID if you do not already have an account associated to the Address. To create a testnet account, choose .testnet, and to create a mainnet account, choose .near.
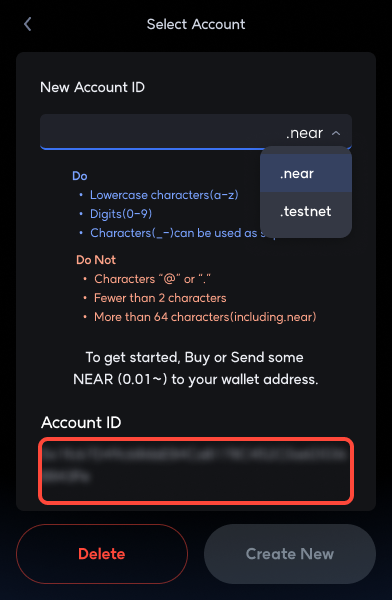
NEAR has a human-readable ID, so you must enter a non-overlapping account ID value, and you must send a certain amount of NEAR tokens to the account in order to activate the account. Request NEAR testnet faucet at the following link.
Step 2: Once the token is confirmed to have entered your account, the Create New button is activated as shown below. Click the button to create a NEAR account.
In addition to the tokens you send to activate your first account, you need a certain amount of tokens to use that account to deploy contracts and execute transactions. For testnet accounts, you can request NEAR testnet faucet through the FAUCET tab in the wallet.